
My wife and I have similar design tastes – rustic, country, simple – but I don’t want the house to look like a Frankenstein patchwork of home goods. We don’t have any full furniture set, but we’ve gotten away with coming close enough to match our hutch, dining room table, and other living room pieces. It helps that I’ve insisted we get the same picture frames for every photo we hang. Nothing drives me crazier than seeing 1,000 photos on someone else’s walls in 1,000 differently styled frames. My OCD is showing, but I go for simple black, or simple white, and usually cluster my photos together, about an inch apart from each other in every direction. The bigger the photo cluster, the bigger the pain in the ass to get these all hung, but it’s worth it.
So, over the summer, Squirrel mentions she was a photo board to put somewhere. She probably told me where it would go, but I wasn’t paying attention because I am a real man. Anyway, with my decor dictatorship in full force, and my recent interest in woodworking, I figured I’d make her a photo board with some of the palettes I’ve acquired.
I’ve actually made a couple of these now, and this is is my second board:
First, I disassembled the palette into its respective parts and removed all the nails.
TIP: Put al the discarded nails into another container – I used an empty Tropicana jug – so your feet or car don’t find them later. I’ve run over three nails in my travels this year alone. Luckily, I’ve got a decent mechanic who doesn’t break my balls over the ensuing visits.
Next, I trim the boards with a handsaw into 18-inch strips. I cut them all at once, which leaves a lot of leftovers, so when I come back for another project, bam, this step is already completed.

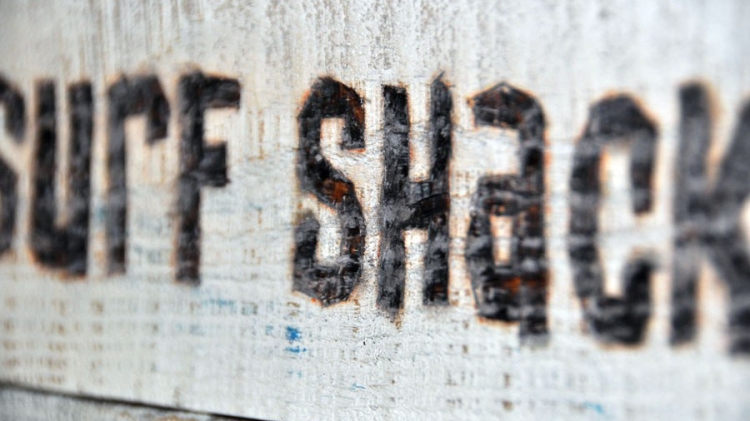
Sand the boards, and then the fun begins. In this instance, the SURF SHACK font actually exists. It’s part of the Tiki family, so I wrote out the word, printed it, and then trimmed out the letters to make a stencil, which I traced onto the board. Then, I burned away a few hours.
TIP: Treated wood is going to murder your eyeballs and lungs with the weird smoke that comes off it. Wear a mask. I did not.
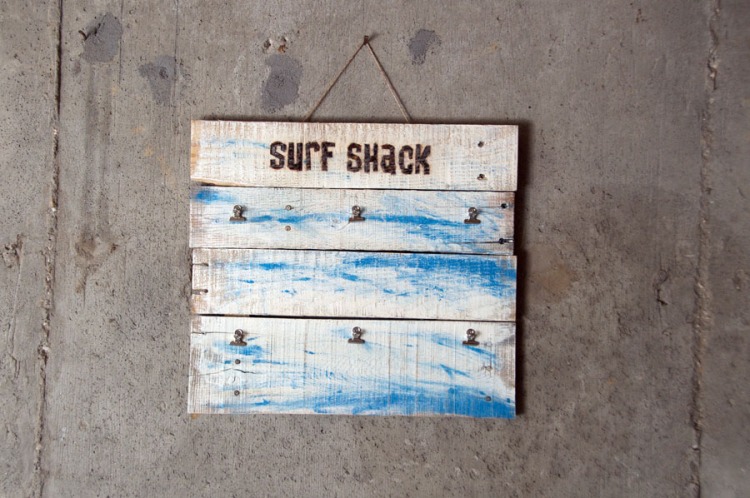
Next, I use a pair of much thinner strips of wood, from the same palette if possible, and screw four board together, with the woodburned title up top. With the board assembled, I applied some house paint (now I know it will match the walls), and a little blue acrylic to give it pop, and simple wiped away any paint that covered my letters.
I found mini clip board clips and triangle hangers at Michael’s, and a few twists of a screw later, and we’re all done. Just tie a length twine to the triangles.


I like it! 😀👍